The Science of the Shadow: How to Defeat the 5 O’clock Shadow for Good
Unfortunately, your 5 O’clock shadow does not feel like a fashion choice; it’s simply a result of nature. One moment, your face is as smooth as silk; the next, the grainy stubble is back, seemingly appearing before your afternoon coffee has even kicked in. Instead of trying to fight against nature by shaving more aggressively, we suggest that you stop trying to control it and instead learn to work with it.
The shadow is only the tips of thousands of dark hairs that lie in waiting beneath your skin. To banish the problem, you need to change the way your blade meets the follicle. And that means you need to understand what you are up against.
What Is 5 O’Clock Shadow?
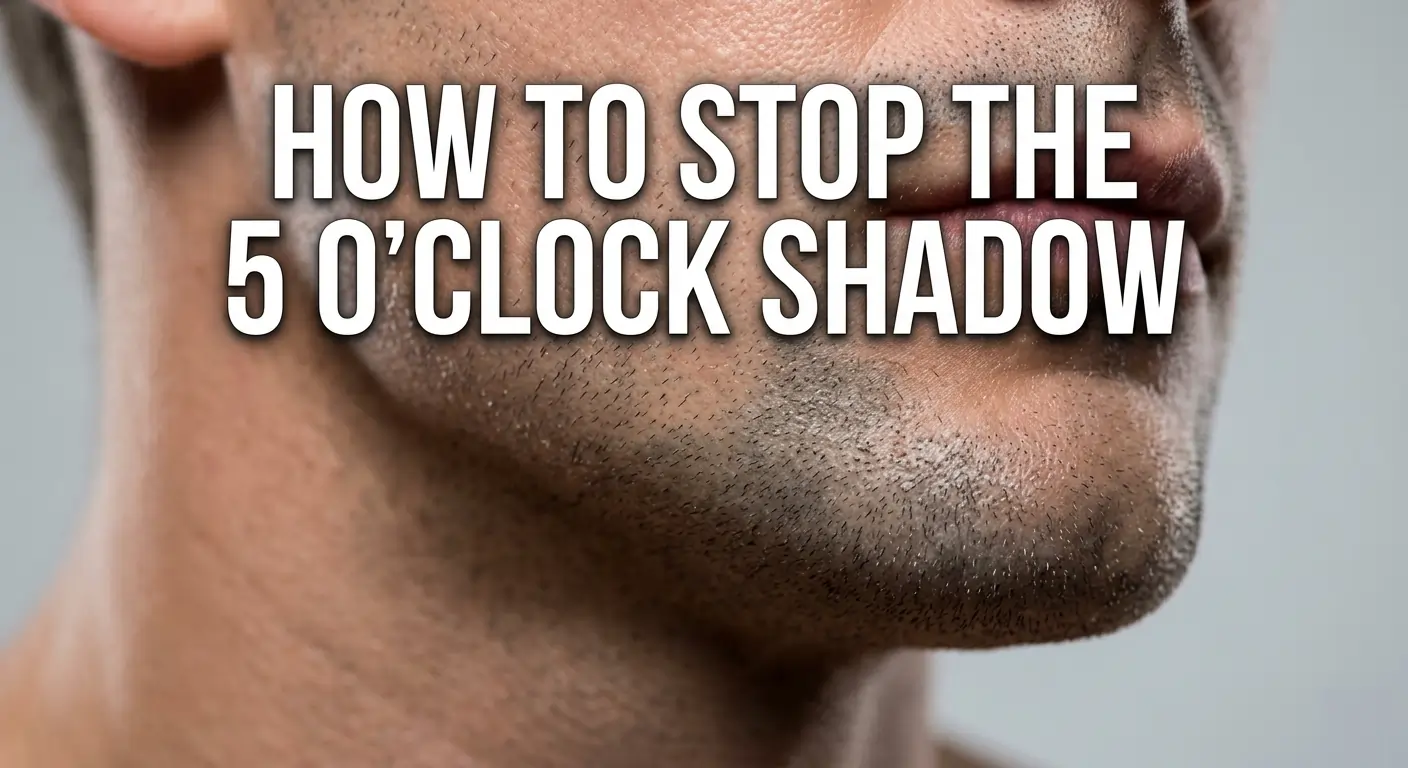
Quick answer: 5 o’clock shadow is the faint stubble that becomes visible a few hours after a clean shave. It happens because dark, coarse hair follicles show through the skin even when the surface feels smooth — especially with thick, dark facial hair against lighter skin. It is mostly genetics and hair-to-skin contrast, not necessarily bad technique.
A quick history: the "5 o'clock shadow" was a marketing invention
The term “5 o’clock shadow” is older than you might think — and it was coined, at least in part, to sell razors.
The phrase traces back to a 19th-century English upper-class habit: afternoon tea at five o’clock, by which point a gentleman’s morning shave had visibly worn off. Fast forward to the 1930s, and the marketing department of the Gem Safety Razor Company needed a catchy name for that late-afternoon stubble to move their Gem Micromatic blades. “5 o’clock shadow” was born — a problem named, and partly invented, to sell the solution.
It’s worth knowing because it reframes the whole battle. The shadow isn’t a shaving failure or a hygiene problem; it’s the natural, predictable regrowth of terminal hair, and an entire industry has spent nearly a century convincing men to feel bad about it. Plenty of people even find the look attractive — it consistently shows up in style discussions as a rugged, deliberate look rather than a flaw.
Understanding that the “problem” was partly manufactured takes some of the pressure off, and that’s exactly the mindset that leads to better shaving decisions. You’re managing regrowth, not fixing a defect.
1. The “Lift and Drop” Physics
To get rid of the 5 O’clock shadow, you need a proactive approach; you can’t simply play defence or blindly follow the common advice of “Always shave with the grain” found in most shaving guides. While shaving with the grain is good advice for beginners to avoid irritation, shaving against the grain can provide a much closer and longer-lasting result.

Think of it as defensive driving; you’re playing it safe, but you never leave your driveway. To effectively tackle a 5 O’clock shadow, you need to understand a principle called the Hysteresis effect. In this context, hysteresis is a basic rule of mechanics that describes how a physical material takes some time to return to its original state after being moved. This concept allows for better control over subdermal hair during shaving.
The Mechanics of Hysteresis
Hysteresis, in dermatology and grooming, refers to the brief delay between when something is moved and when it returns to its original position. When a high-quality blade, especially in a precision safety razor, makes contact with a hair follicle, it does more than just cut. There is a split second of “pulling” force between the blade and the keratin (the main protein in hair).
As the blade progresses through the stroke, it lifts the hair shaft slightly out of the follicle. For a split second, a portion of the hair that generally resides beneath the skin’s surface is pulled upward into the path of the blade. When the hair is cut at this elevated position, the remaining root “snaps” back down. Because the cut was made while the hair was extended, the new tip retracts below the skin. This is the “Lift and Drop” secret. By the time the hair grows back to the surface of the epidermis, you have effectively gained a four-to-six-hour head start on your shadow.
The Problem with Lightweight “Safety” Razors
Modern, lightweight plastic razors fall short because they lack the needed pressure; you need enough force to pull the hair tightly against the razor’s head to create the desired hysteresis effect. Cheap disposable razors don’t have enough weight or grip to hold the hair, causing the blade to skim over it and resulting in only a shallow cut. The shadow reappears just a few hours later.
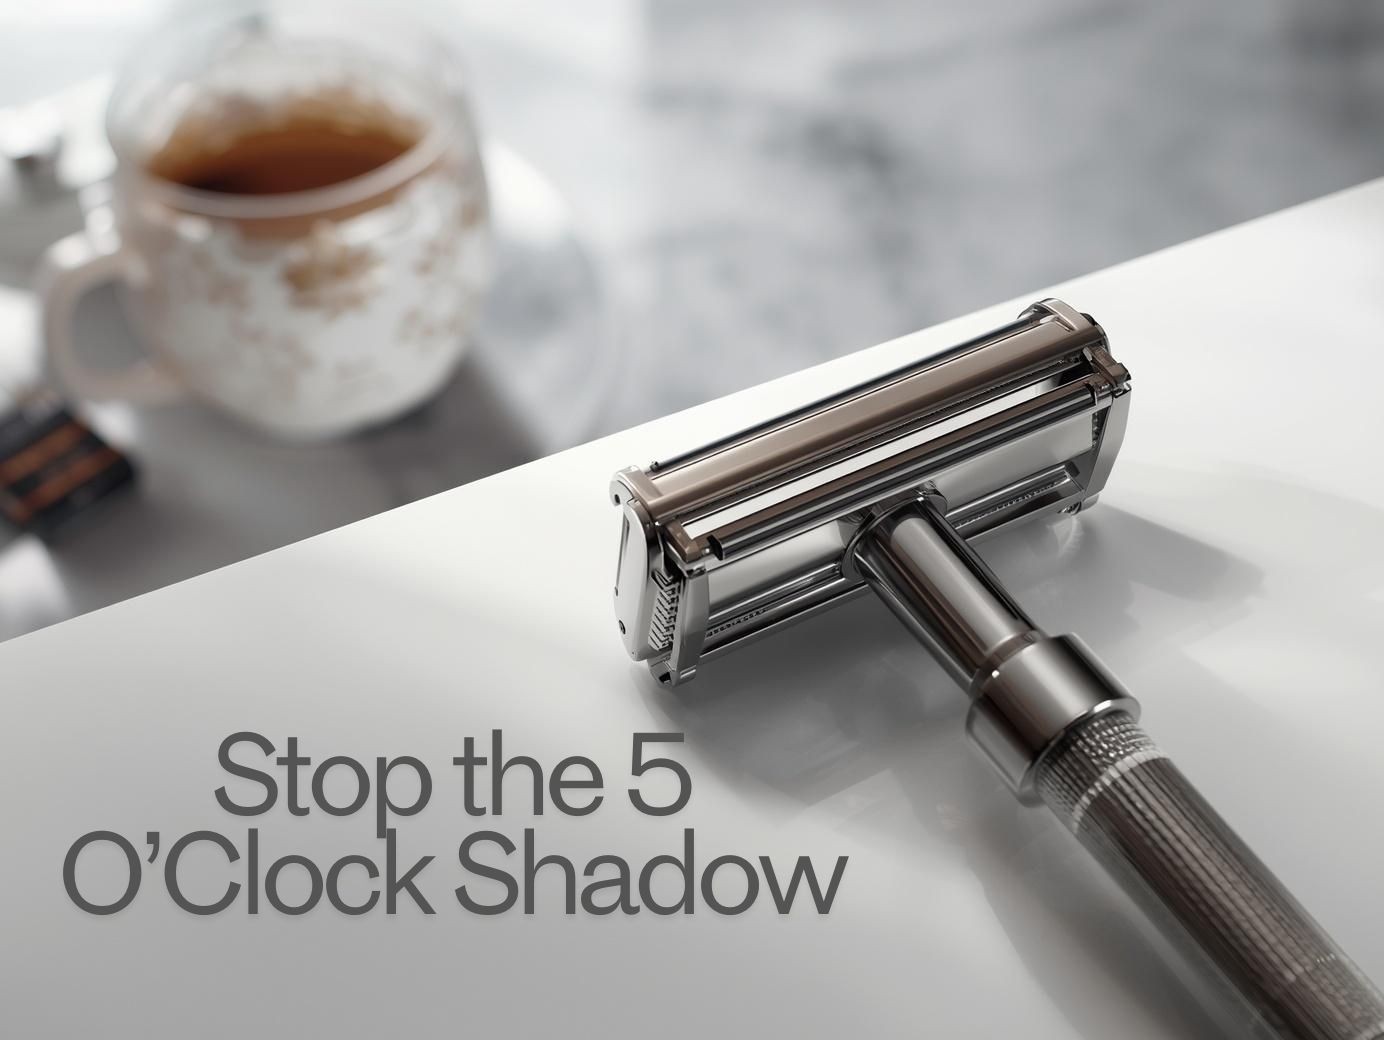
The physics-based approach to shaving dictates that you switch to a heavy, unrestricted, comb safety razor, with a solid brass or steel handle that provides the necessary kinetic energy to the skin. The closed-comb safety bar is designed to strain and flatten the skin. By leveling the skin against it, it does not just cut hair that happens to stick out; it pulls it up and out of the way, ready to be cut.
Geometry and Blade Angle
Likewise, the angle at which the blade meets the follicle, known as the angle of attack, is critical. In a high-end safety razor, the user can manually adjust the angle. By maintaining a 30-degree angle, you ensure the blade severs the hair with a clean, surgical edge. A vertical cut reduces the face area of the hair’s cross-section. A lower cross-section means less light is reflected back to the eye, significantly dimming the shadow’s appearance.
By learning these “Lift and Drop” physics, you’re no longer just trimming hair; you’re strategically manipulating the position of the follicle within the dermis. This is the difference between a shave that looks good for an hour and a shave that maintains its personality, position, and finish throughout the entire professional day.
2. Advanced Pore Preparation: The Heat Factor
Nearly every top-ranking article on shaving advice will offer the same tip: “Use warm water to open your pores.” However, from a biological standpoint, this is inaccurate; pores do not have muscles and cannot open or close like a window. To truly achieve a higher level of control, we must look beyond the idea of ‘open pores’ and focus on when keratin softens.
The Biochemistry of Facial Hair
Your facial hair is composed of a thick, stringy protein called keratin. In its dry state, terminal beard hair is remarkably flexible; it possesses a tensile strength similar to copper wire of the same diameter. Trying to cut through dry, cold keratin causes a form of razor drag, skin trauma, and a prematurely reappearing shadow. Still, keratin is hygroscopic, meaning it readily absorbs humidity.
When a hair follicle is completely saturated with water, its internal structure undergoes a dramatic change. The hydrogen bonds within the keratin soften, and the hair shaft swells. Research indicates that completely doused hair requires nearly 60% lower force to cut than dry hair. By reaching this saturation point, you transfigure your beard from a field of coarse bobby copper wire into a material as easy to shave as a soft vegetable. This reduction in resistance is the key to getting a flush, sub-surface cut without the skin-prickly pressure that generally accompanies a deep shave.
The 120-Second Rule: Beyond the Splash
The main mistake most men make is thinking a quick splash of water at the sink is enough. Wetting the face isn’t the same as softening the beard. To achieve the softness needed for a lasting, smooth shave, you should use the Hot Towel Method with care.
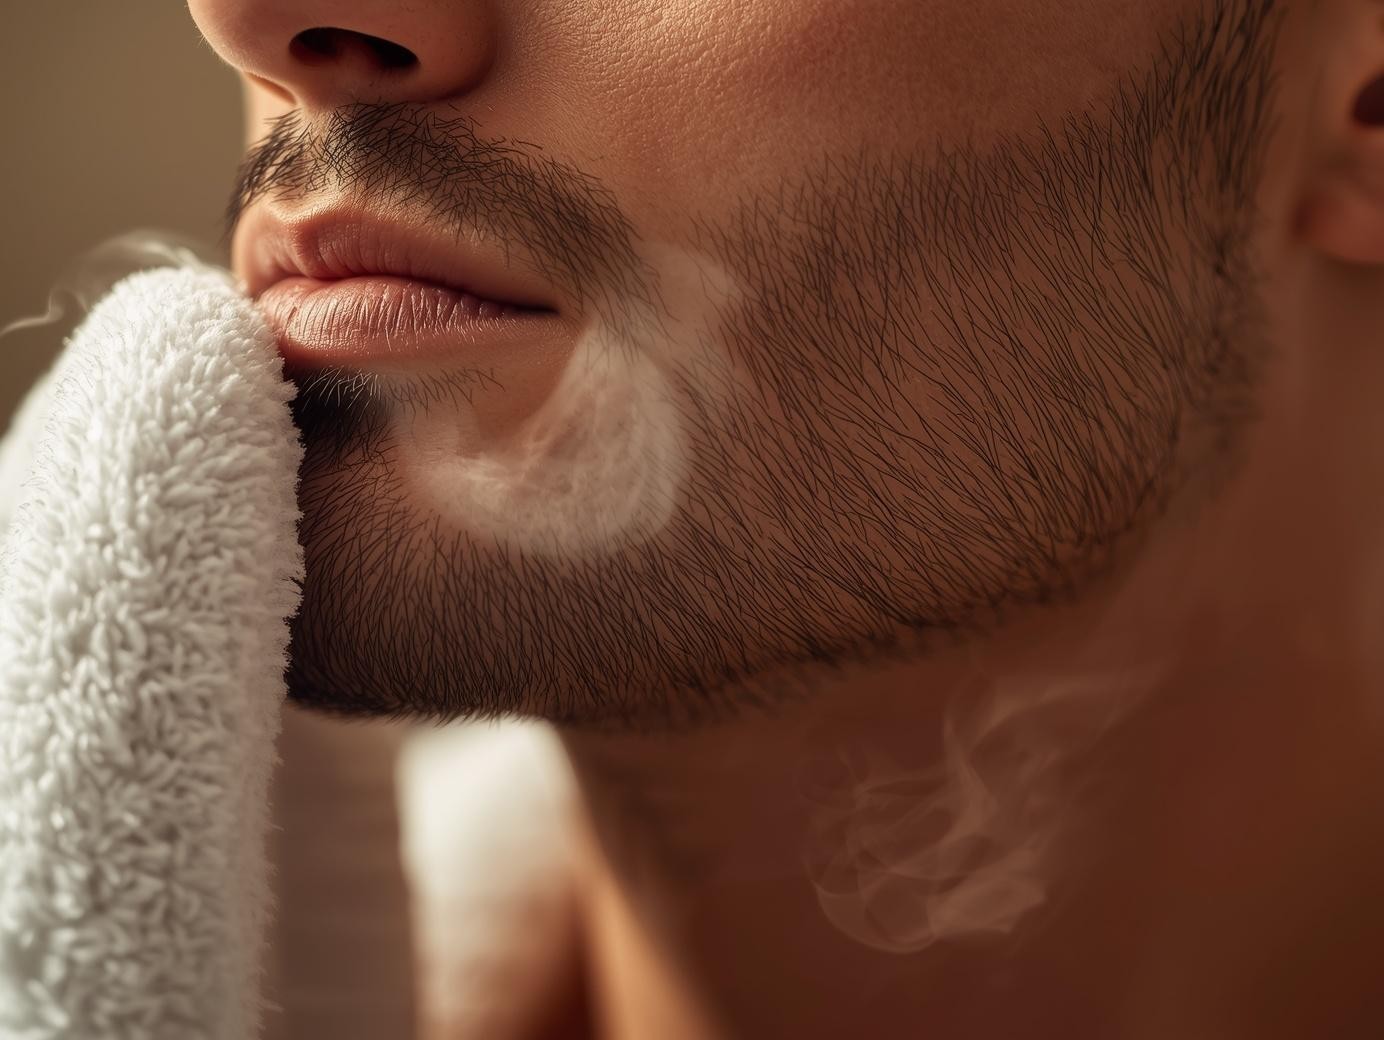
For the Skyscraper Protocol, instead of just splashing water, take a clean towel and soak it in hot, comfortable water. Wring it out and hold it to your face for exactly 120 seconds.
Why 120 seconds? It takes about two minutes of direct heat and moisture for water to penetrate the hair’s protective layer and reach the inside. This two-minute period is when the hair becomes fully soft and flexible.
Relaxing the Arrector Pili
While the towel does not “open” your pores, the sustained heat performs another vital physiological function: it relaxes the Arrector pili muscles. These are the tiny muscles attached to your hair follicles (the same ones responsible for” goosebumps”). When these muscles are tense or cold, the hair is flat or at an awkward angle against the skin, making it impossible for a razor to catch the base.
The heat from the towel signals these muscles to relax, allowing the hair to stand straighter and more prominently. This elevation is critical. When the hair stands vertically to the skin, your high-quality safety razor can glide across the base and remove the hair at its absolute smallest point.
The Role of Steam in Digital Grooming
In the ultramodern period of high-resolution video and photography, the fewest jagged edges on a hair follicle can be picked up by the camera as a” shadow.” By ensuring your beard is completely saturated and relaxing your Arrector pili, you ensure that every cut is clean, surgical, and uniform. This preparation is the foundational step in a professional grooming ritual, icing the shadow into staying hidden where it belongs, beneath the face.
3. Mapping Your Growth Map
One of the most frustrating aspects of the 5 O’clock shadow is its inconsistency. You may notice that while your cheeks remain smooth until the evening, your neck or the area around your Adam’s apple develops a dark, patchy grain by noontime. This is not a failure of your razor; it’s a failure to consider the mapping of your hair growth.
Hair doesn’t grow in a linear, downward direction across the entire face. It grows in” swirls,”” cowlicks,” and opposing patterns, particularly along the jawline and neck. You’re shaving” with the grain” on your cheeks, but you might be shaving” across” or indeed” against” the grain on your neck without realizing it, if you shave across your whole face. This inconsistent directional approach leaves some hairs longer than others, creating a patchy shadow that reflects light in the opposite direction.
The Tactical Strategy: Grain Mapping
To win the war against the shadow, you must perform a” Grain Map” of your face. This is a standard procedure in high-end barbershops that most men skip at home.
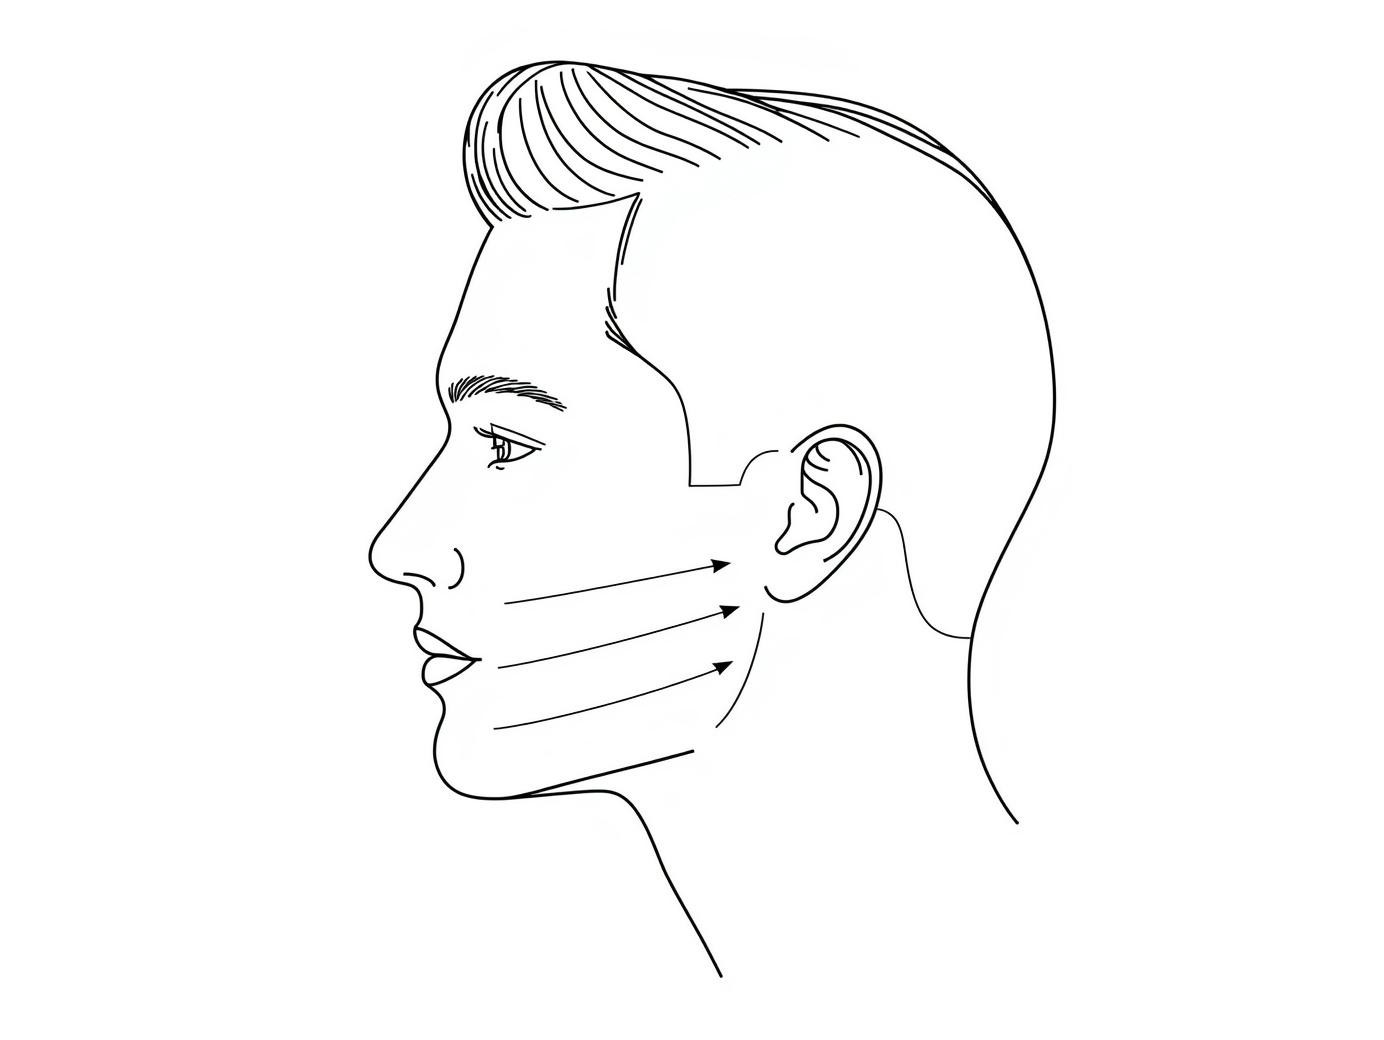
1) The Procedure: Allow your hair to grow for 24 hours until the stubble is visible. Wash your face to remove oils and dirt, and rub your hand across your face in four distinct directions: North-to-South, South-to-North, East-to-West, and West-to-East.
2) The Identification: The direction that feels the smoothest is” With the Grain” (WTG). The direction that feels the roughest, like sandpaper catching on your skin, is” Against the Grain” (ATG).
3) The Documentation: Mentally or physically note these directions for each” zone” of your face, the cheeks, the chin, the mustache area, and the various sectors of the neck.
The “Buffing Pass”: The Finishing Stroke of Authority
Once you have completed your original passes (With the Grain and across the Grain), you’re ready for the most advanced move in the fixing playbook: the Buffing Pass. This is the specific technique used to eliminate the sub-surface” roots” that create the shadow.
The buffing pass involves taking very quick, light 1-inch strokes against the grain in the areas where the shadow is most prominent. Because this pass is high- intensity, you must apply a” high- lubricity” shaving cream or a dedicated shaving oil first. Don’t use this on” dry” skin or thin lather.
By using the weight of a heavy safety razor and short, measured strokes, you’re effectively” buffing” the hair down to its absolute smallest point. Because the strokes are short, you maintain maximum control over the blade’s angle, ensuring you do not nick the skin while hunting for those final microns of hair.
Precision Around the Adam’s Apple
The neck is the most common” shadow zone” because the skin is thinner and the contours are more extreme. When you reach the Adam’s apple, use your non-dominant hand to gently pull the skin to the side, moving the hair down from the projection and onto the flat face of the neck. This allows you to apply the buffing pass to the hair that would otherwise be defended by the” dip” in your neck’s anatomy.
Learning your growth map transforms your shave from a guessing game into a calculated, authoritative ritual. By treating each zone of your face according to its specific growth pattern, you ensure a consistent smoothness that prevents patches of shadow from arising prematurely.
4. The Role of Melanin and Skin Contrast
You’re dealing with a natural reality that no razor alone can fully eliminate chromatic discrepancy if you have dark terminal hair and a fair-to-medium skin tone. In numerous cases, what you perceive as a 5 O’clock shadow isn’t actually hair sitting on top of your skin; it’s a visual illusion created by the hair shafts showing through the translucent upper layers of the epidermis, specifically the stratum corneum.
The Optics of the Epidermis
Human skin isn’t an opaque barrier; it’s a multi-layered, semi-translucent organ. The stratum corneum, the outermost layer of the skin, consists of flattened, keratinized cells. When these cells accumulate, a process known as hyperkeratosis, they produce a” cloudy” or” matte” finish on the skin’s surface.
For men with high melanin levels in their hair (dark hair), the dark hair shaft, acting as a background against the pale, translucent skin, creates a blue or grey shade. This is known as the Tyndall Effect, in which light scatters as it passes through the skin and hits the dark hair below, reflecting back a cooler, darker tone. This is why, indeed, an impeccably smooth shave can still look like a shadow from a distance.
Authority Note: You Cannot Shave Your DNA, but You Can Manage the Contrast
While you cannot change the inherent density of your hair follicles or the color of your hair, you can dramatically impact the” translucence” of the window through which that hair is seen. To win the war against the shadow, you must move beyond the blade and into the realm of chemical exfoliation.
Standard physical scrubs (like those with apricot seeds) are frequently too abrasive and can cause micro-tears that lead to inflammation, which actually makes the shadow look worse by reddening the surrounding skin. Rather, the” Chemical” approach involves the daily use of a Beta Hydroxy Acid (BHA), specifically Salicylic Acid.
The Salicylic Acid Advantage
Salicylic acid is oil-soluble, meaning it can penetrate deeply into the sebaceous and dermal layers of the skin. It works by dissolving the” cement” that holds dead skin cells together. By thinning the buildup of the stratum corneum through consistent, gentle exfoliation, you achieve two critical goals.
1) Blade Proximity: By removing the “micro-speedbumps” of dead skin, your safety razor can glide millimeters closer to the actual root of the hair. This allows the blade to cut the follicle at a deeper point within the skin’s structure.
2) Clarifying the” Window”: thinning the dead skin subcaste reduces the” cloudy” scattering of light. When the skin is clear and healthy, it reflects light more evenly, which minimizes the blue tint of the sub-surface hair.
The Impact of Inflammation
It’s also vital to note that skin irritation causes blood to rush to the face, creating a” red- meets-blue” color profile that makes a 5 O’clock shadow look significantly more pronounced and” angry.” Using a daily BHA exfoliant also acts as an anti-inflammatory, calming the skin and ensuring that the only thing people see is your clean, polished finish, rather than a patchy blend of regrowth and irritation.
By treating the skin as an optical surface rather than just a platform for hair, you can reduce the visual impact of your shadow by over 30%. This is not just fixing; it’s a sophisticated manipulation of your own biology to maintain an authoritative, polished appearance from the first morning meeting to the final evening event.
The camera-ready fix: color-correcting the Tyndall shadow
Section 4 explains the Tyndall effect — dark hair under translucent skin scattering blue-gray light back at the viewer. Here’s what it doesn’t mention: there’s a well-established cosmetic fix for exactly this problem, and it comes from an unexpected corner.
The drag and cosplay communities have been neutralizing beard shadow for years. Their method: an orange or peach color corrector applied over the shadowed area before foundation. Orange sits opposite blue on the color wheel, so it cancels the blue-gray cast of sub-surface hair instead of just covering it. Makeup guides and community discussions — including people dealing with heavy, coarse beards daily — describe the same routine: close shave first, then a thin layer of orange/peach corrector, then foundation or powder matched to your skin tone, blended well.
Most men will never touch makeup, and that’s fine. But there are moments when it matters: wedding photos, a headshot session, an on-camera appearance, or a job interview under harsh office lighting that exaggerates every shadow. For those situations, a small tube of color corrector costs a few dollars and takes two minutes — no appointment, no laser, no pain.
If you go this route, start with the smallest amount that works and build up; heavy application looks worse than the shadow. And patch-test first, the same as you would with any product going on freshly shaved skin.
5. Post-Shave: The Sealant
After you’ve achieved that deep, sub-surface cut, the worst thing you can do is let the skin dry out. When skin is dehydrated, it loses volume and” shrinks” back, exposing the hair tips sooner.
- Recommendation: Use an aftershave balm containing hyaluronic acid or glycerin. This” plumps” the skin around the hair follicle, keeping the hair tip hidden beneath the face for as long as possible.
About the author: Chris Garczynski
Chris is a Minnesota-based wet shaving enthusiast and founder of Wet The Blade. After years of testing safety razors, straight razors and grooming products, he shares honest, practical shaving guides \u2014 no sponsored fluff.
Best Shaver for 5 O’Clock Shadow
If the shadow itself is your main enemy, the tool matters. A foil shaver is usually the best electric shaver for 5 o’clock shadow: its thin foil and oscillating blades cut hair very close to the skin, so the shadow takes longer to reappear than with most rotary shavers. For manual shaving, a sharp safety razor with a fresh blade gives the closest possible cut. Whatever you choose, replace blades or foils on schedule — a dull edge leaves longer stubble, and longer stubble means an earlier shadow.
The straight razor dividend: what long-time straight users report
This guide recommends safety razors and foil shavers, but it skips the tool that straight-razor devotees swear by for exactly this problem: the straight razor itself.
On shaving forums, the pattern is consistent enough to mention. Straight razor users regularly report the longest shadow-free windows of anyone: one veteran reported shaving at 7:00 AM and seeing no shadow until 20–25 hours later with a proper straight-razor shave; another noted that 29 hours after a straight shave, his face still looked and felt the way it does immediately after an electric shave. The explanation is the same physics this guide covers — a single, supremely sharp edge at a controlled angle cutting hair flush at skin level — taken to its logical extreme, with no safety bar or foil standing between blade and skin.
That’s the honest upside. The honest downside is the learning curve: a straight razor demands weeks of practice before it’s safe and effective, plus stropping and honing maintenance that a safety razor doesn’t need. It’s not a casual upgrade.
But if the shadow is genuinely your nemesis and you’ve already optimized prep, mapping, and blade freshness with a safety razor, the straight razor is the last mechanical step available before you leave shaving entirely and start looking at laser. Many who made the jump say it was the single biggest change to their shadow timeline.
The honest trade-off: chasing zero shadow can cost you your skin
One thing the wet-shaving forums will tell you that most articles won’t: there is a price for a shadow-free face, and it’s paid in skin.
On Badger & Blade, fair-skinned men with dark, heavy beards describe the same bind — they can get a perfectly smooth shave and still see hair beneath the skin within hours, and the only way to push further is more pressure, more passes, more against-the-grain work. As one put it, he got the clean-shaven look “at the expense of my skin and razor bumps.” Another summed up the genetics problem plainly: “I can get BBS everywhere and still see the hair beneath the skin. Just something one learns to deal with!”
That’s the trade-off this guide should state outright. Every technique here — buffing passes, against-the-grain finishing, chemical exfoliation — buys you hours of smoothness at some irritation risk. Stack all of them every single day and you may end up with a face that’s technically shadow-free and visibly angry.
The practical rule: use the full arsenal when it matters (big meeting, event, photos), and run a gentler routine on ordinary days. And if your genetics put a hard floor under your shadow no matter what you do, consider the other honest option — a neat, intentional stubble. It’s a look plenty of men wear on purpose.
FAQ
Q: What causes 5 o\u2019clock shadow?
A: It\u2019s the visible stubble that appears hours after shaving, caused by dark hair follicles showing through the skin \u2014 more noticeable with thick, dark hair.
Q: How do I get rid of 5 o\u2019clock shadow?
A: Shave against the grain on a final pass (carefully), use a sharp blade, hydrate skin well beforehand, and try a pre-shave oil for a closer cut.
Q: Does shaving more often prevent 5 o\u2019clock shadow?
A: It shortens the window, but technique matters more than frequency \u2014 a closer single shave beats two rushed ones.
Q: What is the best shaver for 5 o’clock shadow?
A: A foil shaver is usually the best electric option — it cuts closer than most rotary shavers, so the shadow shows up later. For manual shaves, a sharp safety razor with a fresh blade gives the closest cut of all.
Q: How do I get rid of 5 o’clock shadow permanently?
A: Shaving alone cannot permanently remove it, because the hair keeps growing back. Laser hair removal or electrolysis are the only long-term fixes. For daily shaving, the longest-lasting smooth result comes from good prep, a sharp blade, and careful technique.
Q: Why do I still have 5 o’clock shadow right after shaving?
A: The usual culprits are a dull blade, shaving with the grain only, or skipping prep. Hydrate the skin well, map your growth direction, and finish with a careful against-the-grain pass where your skin tolerates it.
Final Verdict: Defeating the 5 O’clock shadow is not about more blades or further pressure; it’s about hydration, mapping, and the mechanics of the cut. By softening the keratin and exploiting the hysteresis effect, you can push your” shadow time” from 2:00 PM to well past dinner.