
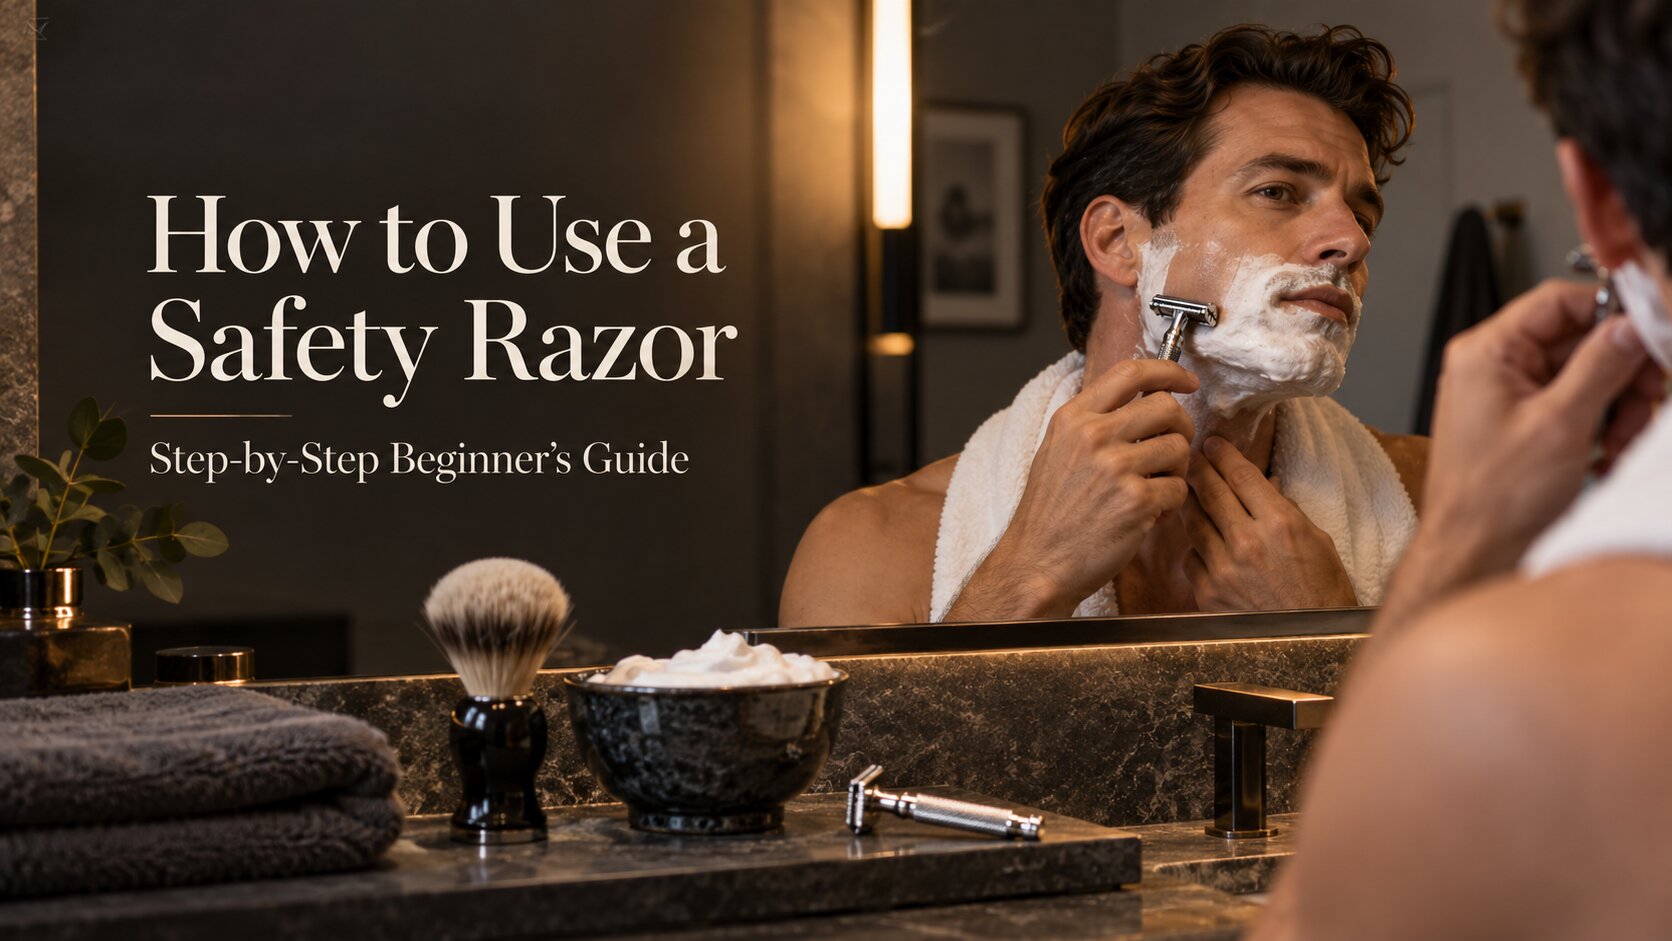
A safety razor looks simple, and it is, but it doesn’t behave like the cartridge razor most of us learned on. The head doesn’t pivot, there is no lubricating strip, and nothing in the design encourages you to press. You control the angle, and the weight of the razor does the cutting. Get those two things right and a single blade can give you a close, comfortable shave. Get them wrong and you’ll meet nicks, razor burn and a lot of frustration.
This guide walks you through the whole process for your face: what you need, how to load the blade, the right angle and pressure, your first shave pass by pass, and how to look after your razor afterwards.
Quick answer: how to use a safety razor
Soften your beard with warm water, build a slick lather, and hold the razor at about 30 degrees. Shave with the grain in short, light strokes and let the weight of the razor do the work. Rinse the blade often, re-lather before any extra pass, then finish with a cool rinse and an alcohol-free balm.
In this guide: What is a safety razor? | What you need | How to use a safety razor, step by step | Cleaning, storing and disposing of blades | Common beginner mistakes | FAQs
What Is a Safety Razor and How Does It Work?
A safety razor, also called a double-edge or DE razor, is a reusable metal razor that holds one replaceable double-edge blade. The blade sits between a top cap and a base plate, which clamp it in place so only a thin strip of the edge is exposed. That guard bar is where the name comes from. It limits how much of the blade meets your skin, so it is much harder to cut yourself badly than with an open blade such as a straight razor.
Compared with a cartridge razor, there are three big differences. The head is fixed, so you control the blade angle. There is one blade instead of several. And there is no lubricating strip, so your lather does that job. A brass or steel handle has enough weight to cut on its own, which is why pressing down is the classic beginner mistake.
Many shavers switch because replacement blades are cheap and there is far less plastic waste. Some also report less irritation, but that depends on technique at least as much as on the razor.
What You Need to know about how to use a safety razor
-
A mild-to-medium safety razor.
Aggressive heads expose more blade and forgive fewer mistakes. The Merkur 34C and Edwin Jagger DE89 are two commonly recommended beginner razors, and adjustable razors let you start on a low setting. A very light razor can tempt you to press, while a very heavy one can feel aggressive under the nose, so a medium weight is a safe starting point.
-
A few different blades.
Blades vary in sharpness and feel, so a sampler pack is smarter than a 100-pack. Milder blades are usually suggested for beginners, and sharper ones suit experienced shavers.
-
Shaving soap or cream and a brush.
A brush lifts the hair and builds a thick lather that cushions the blade.
How to Use a Safety Razor: Step by Step
Step 1: Prep Your Skin and Map Your Grain
Warm water softens facial hair, which helps the blade cut cleanly and reduces tugging. Shave right after a hot shower, or hold a warm, damp towel on your face for a minute or two. Not sure which suits you? Our guide on whether to shave before or after a shower explains the trade-offs.
Next, work out which way your hair grows, because the grain decides where you shave with, across or against it. Pull your skin tight while looking in a mirror and see how the hair lies. On the cheeks, hair usually grows downward, but on the neck and chin it often grows sideways or swirls. If you can’t tell, let a few days of stubble grow and note the direction before you start. Dermatologists at the American Academy of Dermatology also recommend working out the direction your hair grows before you shave.
Step 2: Build a Good Lather
A slick, creamy lather protects your skin and lets the blade glide. Soak your brush, load it from your soap or cream, and whip it up in a bowl or directly on your face until it looks thick and creamy. If it looks stiff or dry, add a little water. If it looks thin and runny, add more product. Brush it on in small circles so it lifts the hair, and cover every area you’re about to shave.
Re-lather before every pass. Shaving over a thinning or drying lather is a common cause of tugging and irritation.
Step 3: Load the Blade
Safety razors come in a few designs: three-piece (handle, top cap and base plate that screw together), two-piece, and butterfly razors that open with a twist. The loading process is similar for all of them:

- Unscrew the handle (or twist the base of a two-piece) to open the head.
- Unwrap a new blade carefully. Hold it by the short ends, never the long edges, because the edges are sharp even on a new blade.
- Lay the blade on the posts of the top cap so it sits centred and flat.
- Put the head back together and tighten it until it feels snug.
- Check that a thin strip of blade shows evenly along both sides of the head.
Which way does the blade go in a safety razor?
A double-edge blade is symmetrical, so there is no wrong side. What matters is that it sits centered and flat on the posts before you tighten the head, so both edges are exposed evenly.
Step 4: Find the Right Angle and Pressure
Angle and pressure are the two things beginners get wrong most often, and both are easy to fix.
Grip. Hold the handle lightly with your fingertips instead of a tight fist. A loose grip makes it much easier to keep pressure off your skin.
Angle. Most guides suggest starting at about 30 degrees between the blade and your skin, and some razors and shavers prefer up to about 45 degrees. Rather than trying to measure it, find it by feel. Rest the flat of the razor head against your cheek with the handle roughly parallel to the floor. Then slowly lower the handle away from your face until the blade just starts to cut hair. If you’re nervous, practice on your forearm first. Too steep and the blade scrapes the skin. Too flat and it won’t cut at all.
What angle should a safety razor be held at?
About 30 degrees is the usual starting point, and some razors work best up to around 45. Rest the head flat on your cheek, then lower the handle until the blade starts to cut hair.
Pressure. Use no pressure beyond the weight of the razor. If your skin whitens under the head or the blade drags, you’re pressing too hard. You are guiding the razor, not pushing it.
Step 5: Shave With the Grain
Keep the skin lightly taut with your free hand and shave in short strokes, a few centimeters at a time, following the direction the hair grows. Rinse the razor under warm water often so hair and lather don’t clog the head. You can use either side of the head, and switching sides when one clogs saves time.
Work in sections. Do the cheeks first, then the jawline and neck. Save the upper lip and chin for last, because the hair there is often thickest and benefits from the lather sitting a little longer. For tricky spots:
- Upper lip: puff out your cheeks or press your tongue against the inside of your lip to flatten the skin.
- Jawline: lift the skin gently upward so the blade meets a flat surface.
- Neck: hair often changes direction here, so shave slowly and follow your grain map. Our guide to shaving over the Adam’s apple covers the trickiest part.
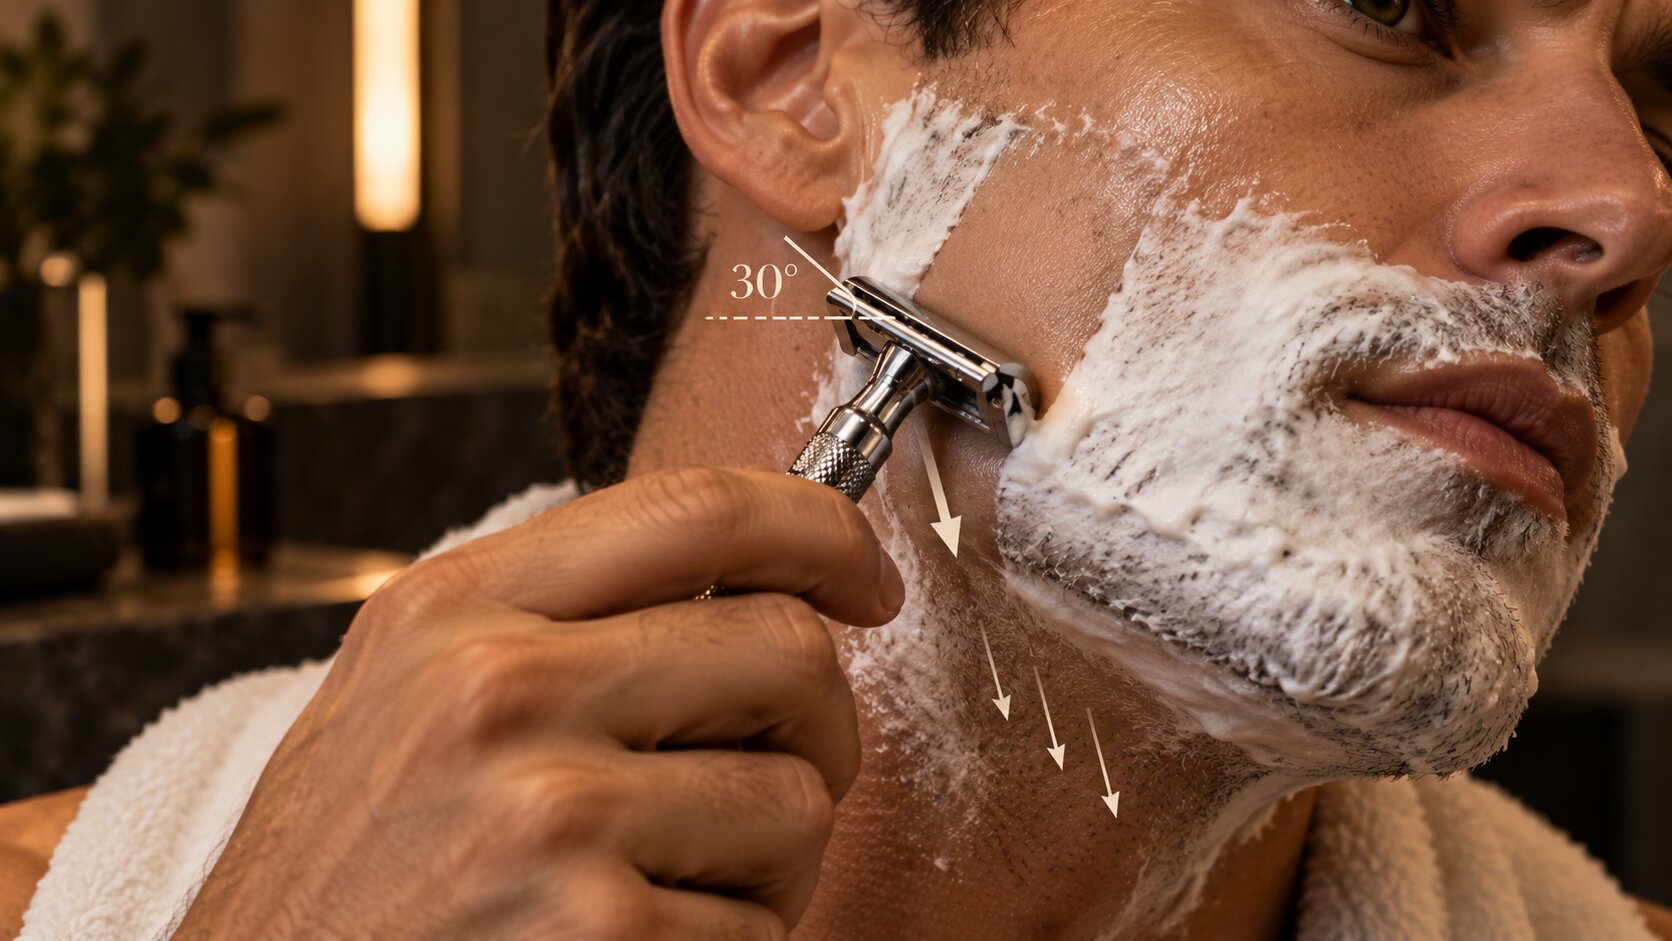
Keep the skin taut, not stretched hard. Some health guidance on preventing razor bumps advises against pulling the skin while you shave, so ease off if you’re prone to them.
Your first shaves won’t be baby-smooth, and that’s normal. Aim for comfort and consistency first, and closeness will follow. A sensible way to ease in is one pass with the grain, every other day, for the first week or two, so your skin can adjust.
How much pressure should you use with a safety razor?
None beyond the weight of the razor itself. Let the head rest on your skin and glide. Pressing causes nicks and razor burn, and it is the habit most people have to unlearn from cartridge razors.
Step 6: Add a Second Pass (Optional)
If your skin feels comfortable and you want a closer result, rinse, re-lather and go across the grain, which means perpendicular to the direction the hair grows. Most people stop here. Think of it as beard reduction over several light passes rather than beard removal in one aggressive stroke.
A pass against the grain gives the closest result, but it is also the pass most likely to cause irritation. The American Academy of Dermatology notes that shaving against the grain causes irritation, and other health sources link it to more ingrown hairs. Skip it if you have sensitive skin, coarse or curly hair that tends to grow back into the skin, or a history of razor bumps. Avoid it on the neck. If you do try it, re-lather first, use an even lighter touch, start with a small area of the cheek, and watch how your skin reacts over the next day. Stop if you see redness, burning or bumps.
Some experienced shavers also use blade buffing, which means very short, light, repeated strokes over one small patch to clean it up. It’s an advanced technique, and the same cautions apply.
Can you shave against the grain with a safety razor?
Yes, but it is the pass most likely to cause irritation and ingrown hairs. Start with the grain, add a cross-grain pass, and only try against the grain on tolerant areas like the cheeks once your technique is steady.
If stubble is back by the afternoon no matter how close you shave, our guide to the 5 o’clock shadow covers what you can realistically do about it.
Step 7: Rinse and Look After Your Skin
Rinse your face with cool water, pat it dry, and apply an alcohol-free aftershave balm or a light moisturizer. Many shavers prefer alcohol-free products because alcohol-heavy splashes can sting and dry out freshly shaved skin.
For a small nick, hold a clean tissue against it with gentle pressure until the bleeding stops. Some shavers keep an alum block or styptic pencil on hand for this. If you’re getting redness or bumps, see our guide on how to prevent razor burn.
How to Clean, Store and Dispose of Safety Razor Blades

- Clean: rinse the razor under warm water to remove soap and hair. Many shavers take the blade out after each shave and let all the parts dry.
- Store dry: the American Academy of Dermatology advises letting your razor dry completely between shaves and not leaving it in the shower or on a wet sink.
- Change the blade: the same AAD shaving guide suggests changing blades after five to seven shaves, and sooner if the blade starts to tug. How long a blade lasts varies with your beard and technique, so see our full guide on when to change your safety razor blade.
- Dispose safely: never toss loose blades in the bin. Collect them in a blade bank or a sturdy sealed container marked as sharp waste, and follow your local disposal or recycling rules once it’s about three-quarters full.
Common Beginner Mistakes
- Pressing down. The razor’s weight is enough.
- Holding the wrong angle. Too steep scrapes, too flat doesn’t cut.
- Using long strokes. Short strokes give more control and fewer nicks.
- Shaving with thin or dry lather. Re-lather before every pass.
- Going against the grain too soon. Build up gradually.
- Starting with an aggressive razor. A mild head is more forgiving.
- Using a dull blade. It tugs, which makes you press harder.
- Skipping aftercare. A balm helps calm the skin.
Safety Razor FAQs
How do you use a safety razor for the first time?
Prep with warm water and a slick lather, hold the razor at about 30 degrees, and shave with the grain using short strokes and no pressure. Stick to one pass at first, rinse the blade often, and finish with a cool rinse and balm. Expect comfort before closeness.
Are safety razors hard to use?
There is a short learning curve, mostly because you control the angle and pressure yourself. Most people get comfortable within a handful of shaves if they go slowly, use a mild razor and a good lather, and keep to one pass with the grain at first.
Can you use regular shaving cream with a safety razor?
Yes. Any cream, soap or foam can work, but a brush-made lather from soap or cream usually gives more cushion and glide. Many shavers find thin gels and canned foams dry out faster under a single blade, so re-lather more often if you use them.
How do you avoid cuts with a safety razor?
Use no pressure, keep the angle shallow, and shave in short strokes with a slick lather and a fresh blade. Keep the skin lightly taut, go slowly around the neck and upper lip, and don’t rush extra passes. A dull blade makes cuts more likely because you press harder.
Is it okay to shave daily with a safety razor?
Yes, if your skin tolerates it. The American Academy of Dermatology says shaving daily, or at least every two to three days, gives hair less time to grow and curve, which can help with razor bumps. Beginners often do better every other day at first.
Are safety razors good for sensitive skin?
They can be, because you use a single blade and control the pressure, but results depend on technique. Choose a mild razor and gentle blade, shave with the grain, skip against-the-grain passes, and use an alcohol-free balm. If bumps persist, see a dermatologist.
How often should you change a safety razor blade?
Many guides suggest about five to seven shaves, and sooner if the blade starts to tug. It varies with your beard, technique and blade brand. See our guide on when to change your safety razor for the full breakdown.
How do you dispose of used safety razor blades?
Don’t toss them loose in the bin. Collect them in a blade bank or a sturdy sealed container marked as sharp waste, then follow your local disposal or recycling rules once it’s about three-quarters full.
Final Thoughts
Using a safety razor comes down to a few habits: a slick lather, a shallow angle, no pressure, and short strokes with the grain. Start with a mild razor and one pass, add a second pass once your skin is comfortable, and treat the against-the-grain pass as optional. Give it a handful of shaves and the technique starts to feel natural.